【Python】第9章第1回:Webスクレイピング(BeautifulSoupとrequests)

本記事では、Pythonを用いたWebスクレイピングの基本を学びます。BeautifulSoupとrequestsライブラリを使用して、簡単なデータ収集の方法を解説します。
0. 記事の概要
この記事を読むメリット
- Webスクレイピングの基本を理解:Pythonを使ったデータ収集の方法を学べます。
- BeautifulSoupとrequestsの使い方を習得:HTML解析とHTTPリクエストの基本を体験できます。
- 実践的なデータ収集のスキルを習得:Webサイトから必要な情報を取得する方法を学べます。
この記事で学べること
- Webスクレイピングの基本概念と注意点
- requestsライブラリを使ったHTTPリクエストの方法
- BeautifulSoupを用いたHTML解析の手法
1. Webスクレイピングとは?

1.1 Webスクレイピングの基本概念
- Webスクレイピングの基本を理解:Pythonを使ったデータ収集の方法を学べます。
- BeautifulSoupとrequestsの使い方を習得:HTML解析とHTTPリクエストの基本を体験できます。
- 実践的なデータ収集のスキルを習得:Webサイトから必要な情報を取得する方法を学べます。
この記事で学べること
- Webスクレイピングの基本概念と注意点
- requestsライブラリを使ったHTTPリクエストの方法
- BeautifulSoupを用いたHTML解析の手法
1. Webスクレイピングとは?

1.1 Webスクレイピングの基本概念

1.1 Webスクレイピングの基本概念
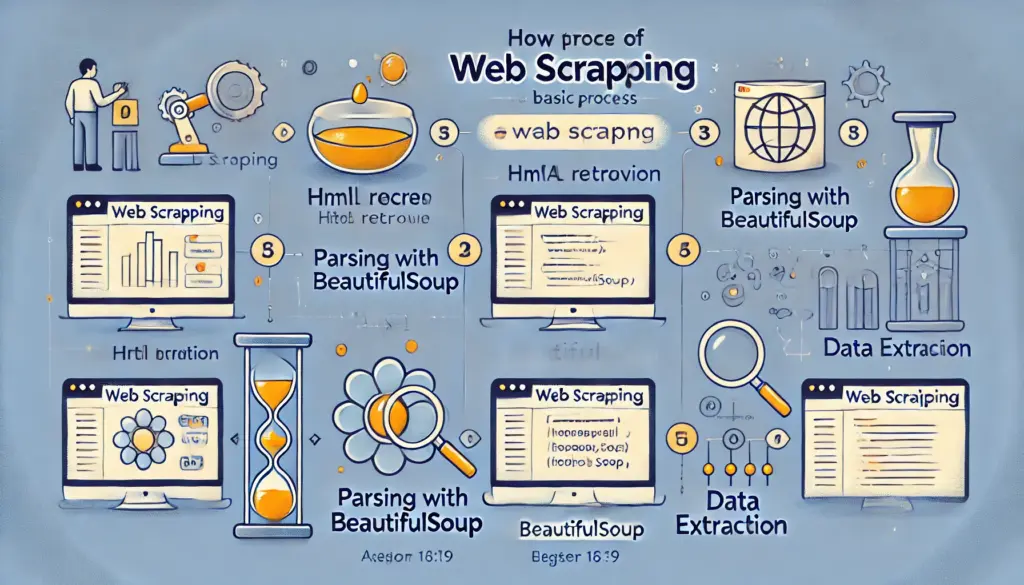
Webスクレイピングとは、Webページからデータを自動的に取得する技術です。主に以下の目的で使用されます。
- データ収集: Webページから必要な情報を抽出
- データ解析: 抽出したデータを解析・加工
- 自動化: 定期的なデータ更新作業の効率化
1.2 注意点
Webスクレイピングにはいくつかの注意点があります。
- 著作権や利用規約の確認: サイトの利用規約に違反しないこと。
- 過剰なリクエストの禁止: サーバーに過剰な負担をかけないこと。
2. BeautifulSoupを使ったスクレイピング

2.1 requestsでHTMLを取得する
# requestsを使ってHTMLを取得
import requests

url = "https://example.com"
response = requests.get(url)
print(response.text)  # 取得したHTMLを表示
2.2 BeautifulSoupでHTMLを解析する
# BeautifulSoupでHTMLを解析
from bs4 import BeautifulSoup

html = response.text
soup = BeautifulSoup(html, "html.parser")

# 特定の要素を抽出
titles = soup.find_all("h1")
for title in titles:
    print(title.text)
動作解説
- requests.get: 指定したURLからHTMLを取得。
- BeautifulSoup: HTMLを解析し、特定の要素を抽出。
- find_all: 指定したタグ(例:
h1)をすべて取得。
3. 実践例: 商品情報の収集

3.1 目的

# requestsを使ってHTMLを取得
import requests
url = "https://example.com"
response = requests.get(url)
print(response.text) # 取得したHTMLを表示
2.2 BeautifulSoupでHTMLを解析する
# BeautifulSoupでHTMLを解析
from bs4 import BeautifulSoup
html = response.text
soup = BeautifulSoup(html, "html.parser")
# 特定の要素を抽出
titles = soup.find_all("h1")
for title in titles:
print(title.text)
動作解説
# BeautifulSoupでHTMLを解析
from bs4 import BeautifulSoup
html = response.text
soup = BeautifulSoup(html, "html.parser")
# 特定の要素を抽出
titles = soup.find_all("h1")
for title in titles:
print(title.text)
- requests.get: 指定したURLからHTMLを取得。
- BeautifulSoup: HTMLを解析し、特定の要素を抽出。
- find_all: 指定したタグ(例:
h1)をすべて取得。
3. 実践例: 商品情報の収集

3.1 目的

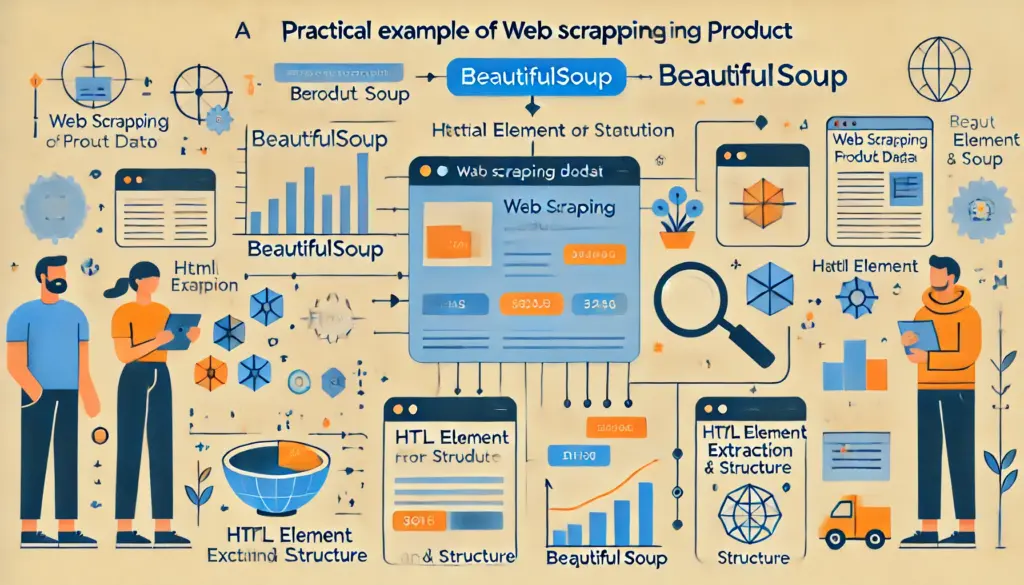
商品のタイトルと価格を取得するWebスクレイピングを実行します。
3.2 コード例
# 商品情報をスクレイピング
url = "https://example.com/products"
response = requests.get(url)
soup = BeautifulSoup(response.text, "html.parser")

# 商品情報を取得
products = soup.find_all("div", class_="product")
for product in products:
    title = product.find("h2").text
    price = product.find("span", class_="price").text
    print(f"商品名: {title}, 価格: {price}")
4. 練習問題
# 商品情報をスクレイピング
url = "https://example.com/products"
response = requests.get(url)
soup = BeautifulSoup(response.text, "html.parser")
# 商品情報を取得
products = soup.find_all("div", class_="product")
for product in products:
title = product.find("h2").text
price = product.find("span", class_="price").text
print(f"商品名: {title}, 価格: {price}")
以下の課題に挑戦してみましょう。
- 特定のカテゴリの商品情報のみを取得するコードを作成してください。
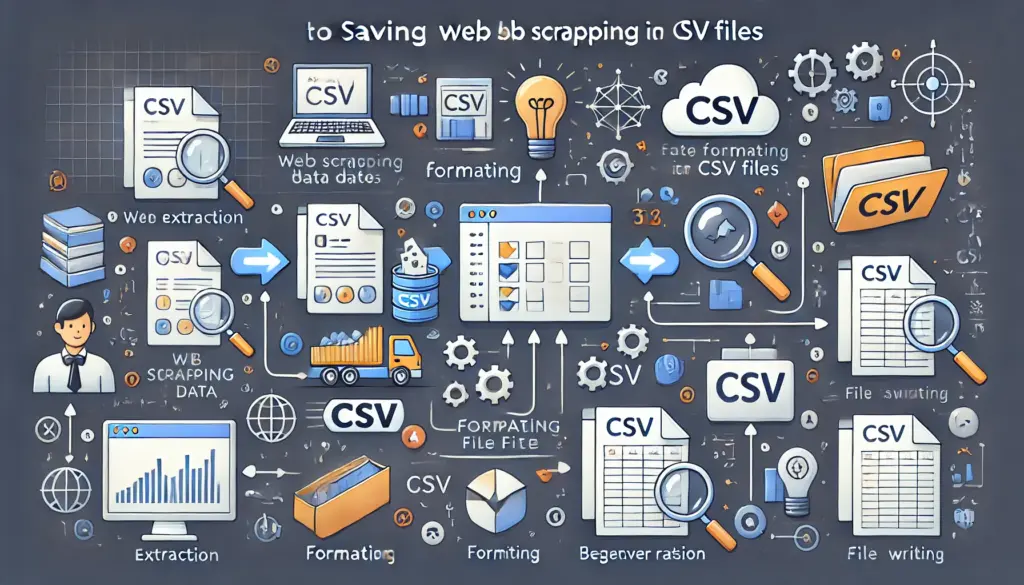
- 取得したデータをCSVファイルに保存してください。
- スクレイピング結果をWebアプリとして表示してください。
5. 練習問題の解答と解説
問2の解答例
# データをCSVに保存
import csv

with open("products.csv", "w", newline="", encoding="utf-8") as csvfile:
    writer = csv.writer(csvfile)
    writer.writerow(["商品名", "価格"])  # ヘッダー
    for product in products:
        title = product.find("h2").text
        price = product.find("span", class_="price").text
        writer.writerow([title, price])
6. まとめ
本記事では、Webスクレイピングの基本から実践例までを学びました。BeautifulSoupとrequestsを活用して、さまざまなデータ収集プロジェクトに挑戦してください。
